Draining a water heater is something most homeowners have never done and most plumbers recommend doing annually. Sediment accumulates at the tank base, insulates the heating element from the water above and steadily shortens tank life. Knowing how to drain water heater tanks correctly takes about an hour and costs nothing. Getting it wrong strips the drain valve, scalds someone with hot water discharge or air-locks the tank during refilling.
Quick Answer: How to drain water heater tanks involves shutting off the energy supply, connecting a garden hose to the drain valve, opening a hot tap inside to allow air into the system, opening the drain valve and flushing until the water runs clear. The drain valve on older units is frequently seized from non-use and requires careful handling. A licensed plumber can service the drain valve and flush the tank if it has never been drained or if the valve is damaged.
Why Knowing How to Drain Water Heater Tanks Matters
Calcium carbonate sediment from hard water accumulates on the tank floor and bakes onto the heating element over time. The EPA estimates sediment reduces water heater efficiency by up to 10% per year in hard water areas by forcing the heating element to work through an insulating layer.
The rumbling sounds from an older tank are sediment movement during heating cycles. Annual draining removes this sediment before it reduces capacity, stresses the tank wall and triggers premature replacement.
5 Proven Steps for How to Drain Water Heater Tanks Safely
Step 1: Shut off the energy supply and let the water cool.
For gas, turn the control valve to pilot. For electric, switch off the dedicated breaker. Never drain immediately after running hot water. Water inside reaches up to 120 degrees Fahrenheit and causes severe burns. Let the unit sit for at least two hours. The PHCC recommends draining below 110 degrees Fahrenheit to prevent scalding.
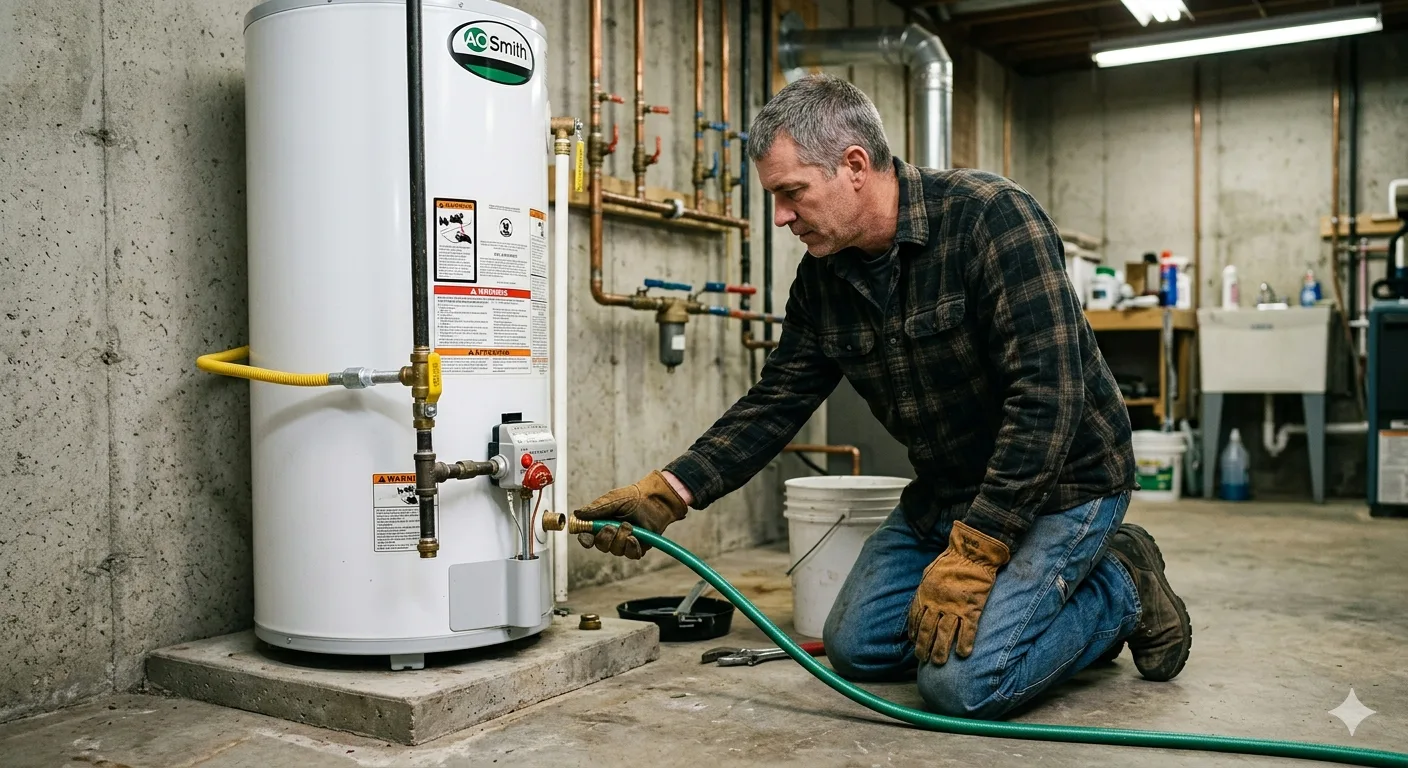
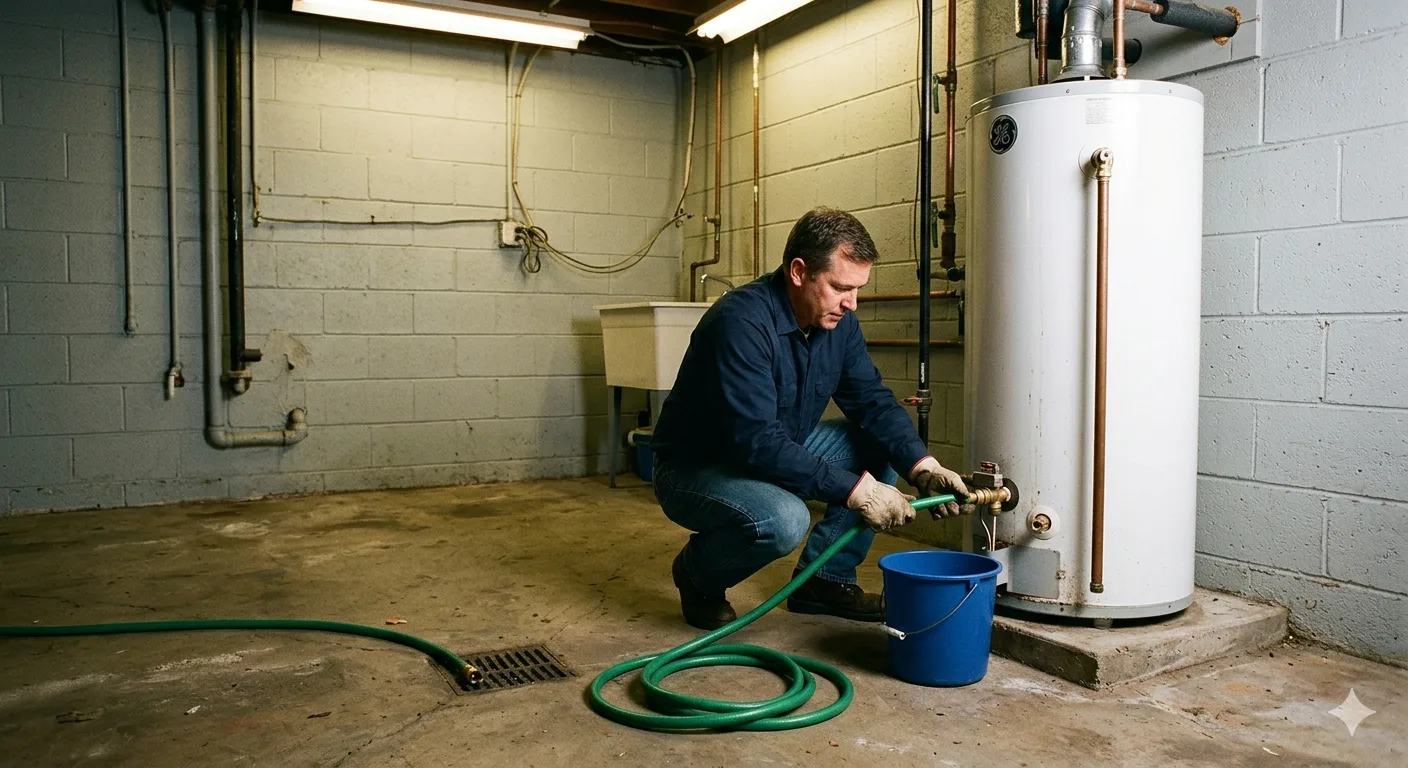
Step 2: Connect a garden hose to the drain valve and route it safely.
Attach a garden hose to the drain valve and route it to a floor drain, utility sink or outside. Sediment-laden water stains concrete, grout and decking. Do not route it onto a lawn during active growth periods. Confirm the hose run is downhill from the tank before opening the valve. A hose that loops upward traps water and slows drainage.
Step 3: Open a hot tap inside the home to allow air into the system.
This is the step most homeowners skip and it is why many tanks drain slowly or not at all. Water cannot drain freely from a sealed tank because the outflowing water creates a vacuum inside. Opening a hot water tap anywhere in the house, a bathroom sink tap turned to hot, breaks the vacuum and allows air to enter the system through the supply lines, enabling the tank to drain at full speed. Leave this tap open for the entire drain process.
Step 4: Open the drain valve slowly and monitor the discharge.
Turn the drain valve counter-clockwise to open it. Open it slowly and partially at first. If sediment has built up heavily, full immediate opening can send a surge of debris into the hose that blocks it. Once flow is established and running steadily, open the valve fully. The initial discharge will be murky or rust-coloured from disturbed sediment. This is normal. Let it run until the water discharges clear. In a tank that has never been drained, this can take 20 to 30 minutes. In a regularly serviced tank, it takes five to ten minutes.
If the drain valve does not turn or produces no flow, do not force it. Brass valves on older units seize from years of non-use. Forcing a seized valve strips the stem and turns a simple task into an emergency repair. Close it and call a licensed plumber.
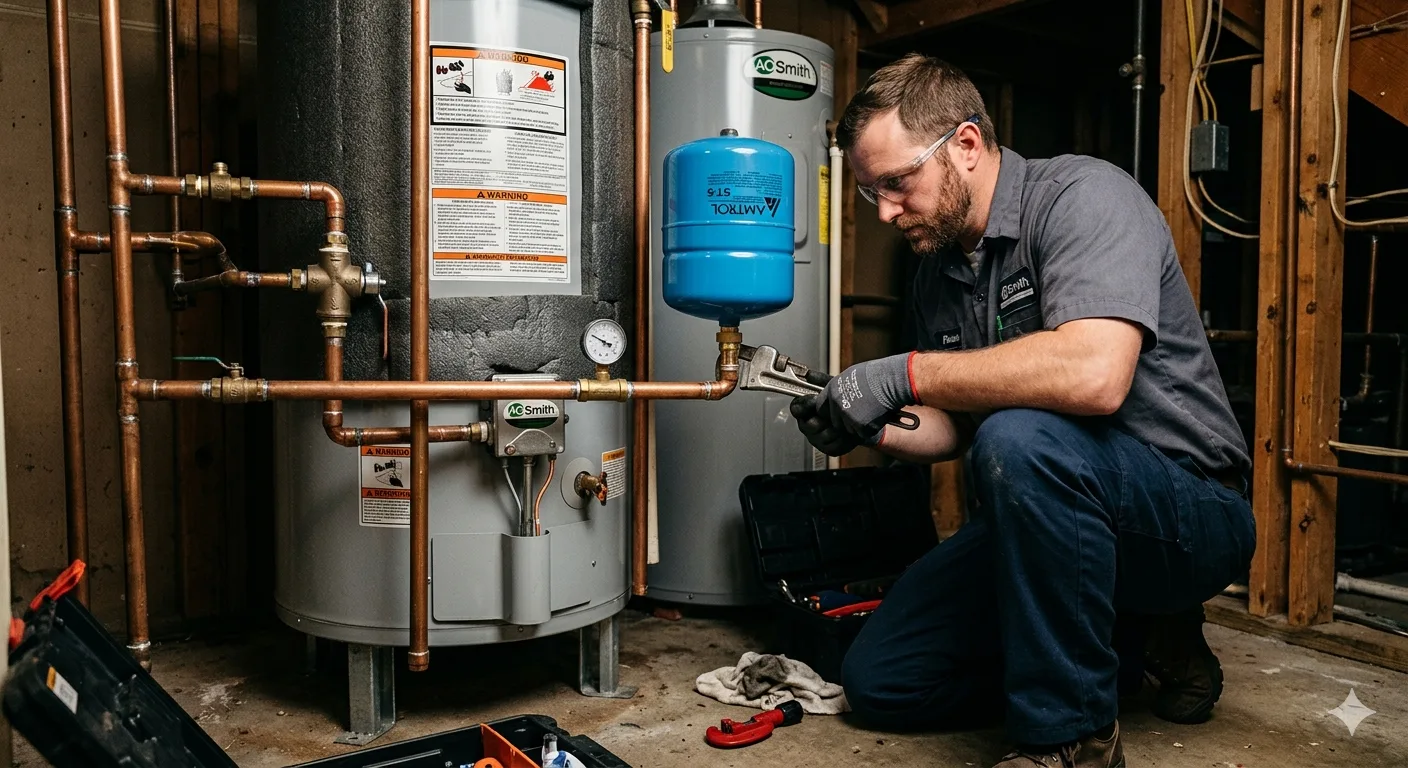
Step 5: Flush with cold water, close the valve and refill.
Once discharge runs clear, close the drain valve and disconnect the hose. Reconnect the cold supply and let the tank refill fully before restoring energy. The hot tap opened in Step 3 will sputter air as the tank fills. When it runs with a steady cold flow, the tank is full. Close the tap, restore energy and let the tank reheat.
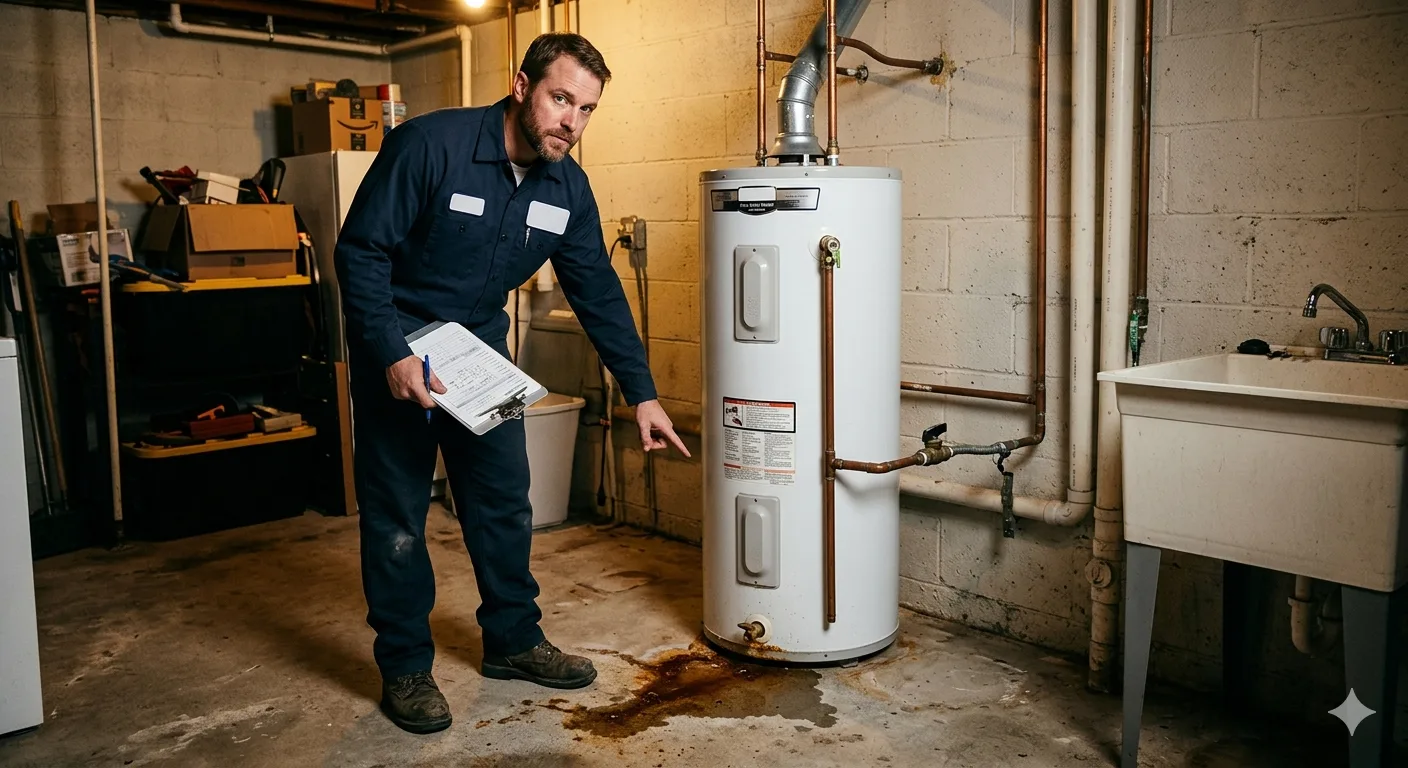
How to Drain Water Heater: Mistakes That Damage the Valve
The most common mistake is draining while the water is still at operating temperature. Hot discharge causes burns and thermal shock can crack the tank lining.
The second is forgetting to open a hot tap inside the home. Without an air inlet the tank won't drain freely. The third is forcing a seized drain valve. Plastic valves common on pre-2000 units crack rather than loosen under force. The CDC identifies water heater maintenance as a direct factor in residential hot water quality, particularly in preventing bacterial growth in stagnant tanks.
Frequently Asked Questions About How to Drain Water Heater Tanks
How often should I drain my water heater?
Once a year is the standard recommendation for most households. In areas with very hard water above 180 mg/L, twice a year is more effective. If the tank has never been drained and is more than five years old, expect the first drain to take longer and produce significantly more sediment than subsequent annual flushes.
How long does it take to drain a water heater?
Active draining of a 40 to 50-gallon tank takes 20 to 45 minutes depending on sediment levels and hose run distance. Total time including cool-down runs two to four hours from a hot tank, or one to two hours if the tank cooled overnight. Knowing how to drain water heater tanks in advance means the process is never rushed.
What if the water never runs clear?
Heavy sediment that does not clear after 30 minutes of draining indicates significant accumulation that may require professional flushing with a powered pump. If rust-coloured water continues after the tank is fully flushed, the interior lining has corroded and the tank needs professional assessment. A licensed plumber can inspect the anode rod condition and advise whether replacement is the more economical path.
Can draining the water heater damage it?
Done correctly, draining causes no damage. The risks are from doing it with the water still hot, forcing a seized valve or restoring power before the tank is fully refilled. Restoring electrical power to an electric water heater before it is full of water burns out the upper heating element within minutes.
Find a Trusted Local Plumber for Water Heater Service Today
Knowing how to drain water heater tanks correctly is one of the most valuable bits of maintenance knowledge a homeowner can have. When the drain valve is seized, the sediment is severe or the tank needs anode rod inspection alongside the flush, a licensed plumber completes the full service in a single visit.
Visit PlumberLocator.us to find a licensed local plumber in your area who can service or flush your water heater. For more practical plumbing guidance, browse our our plumbing tips section.