Bidets have gone from a curiosity to a bathroom staple, and most of the modern seat and attachment styles are genuinely manageable as a DIY project. But knowing how to install a bidet correctly is the difference between a simple upgrade and a slow leak behind your toilet that you don't notice for weeks. Most installation mistakes aren't dramatic. They're small errors with fittings, water pressure or seat alignment that cause damage gradually rather than all at once.
Quick Answer: How to install a bidet depends on the type: seat-style bidets replace your existing toilet seat and connect to the cold water supply valve, while standalone bidet fixtures require a dedicated water supply and drain connection. Bidet seat installations are a realistic DIY project for most homeowners. Standalone fixtures and anything involving new supply lines, drain rough-in or electrical work for heated seats requires a licensed plumber.
Know What Type of Bidet You Have Before You Start
Understanding how to install a bidet starts with knowing what type you have. An attachment clamps under your existing seat and taps into the cold water supply. A bidet seat replaces the whole seat and does the same. Both take 30 to 60 minutes with a wrench and a bucket.
A standalone bidet fixture needs its own hot and cold supply lines, a dedicated drain and a floor flange. That's a rough-in job. If you've bought a standalone unit, how to install a bidet in that context means calling a licensed plumber before touching anything. Getting the rough-in wrong is expensive to redo.
5 Proven Steps to How to Install a Bidet Correctly
Step 1: Shut off the water supply and flush the toilet completely.
The shut-off valve is behind your toilet at the base of the wall. Turn it clockwise until it stops, then flush the toilet once to empty the tank and bowl. Don't skip this step. Working on a bidet connection with the water still live guarantees a mess and risks stripping the fitting threads under pressure. Once the tank is empty, disconnect the supply hose from the bottom of the tank and have a small bucket ready for any residual water in the line. The PHCC notes that most DIY toilet fixture failures trace back to skipping the shut-off or not confirming the line is fully depressurised before touching fittings.
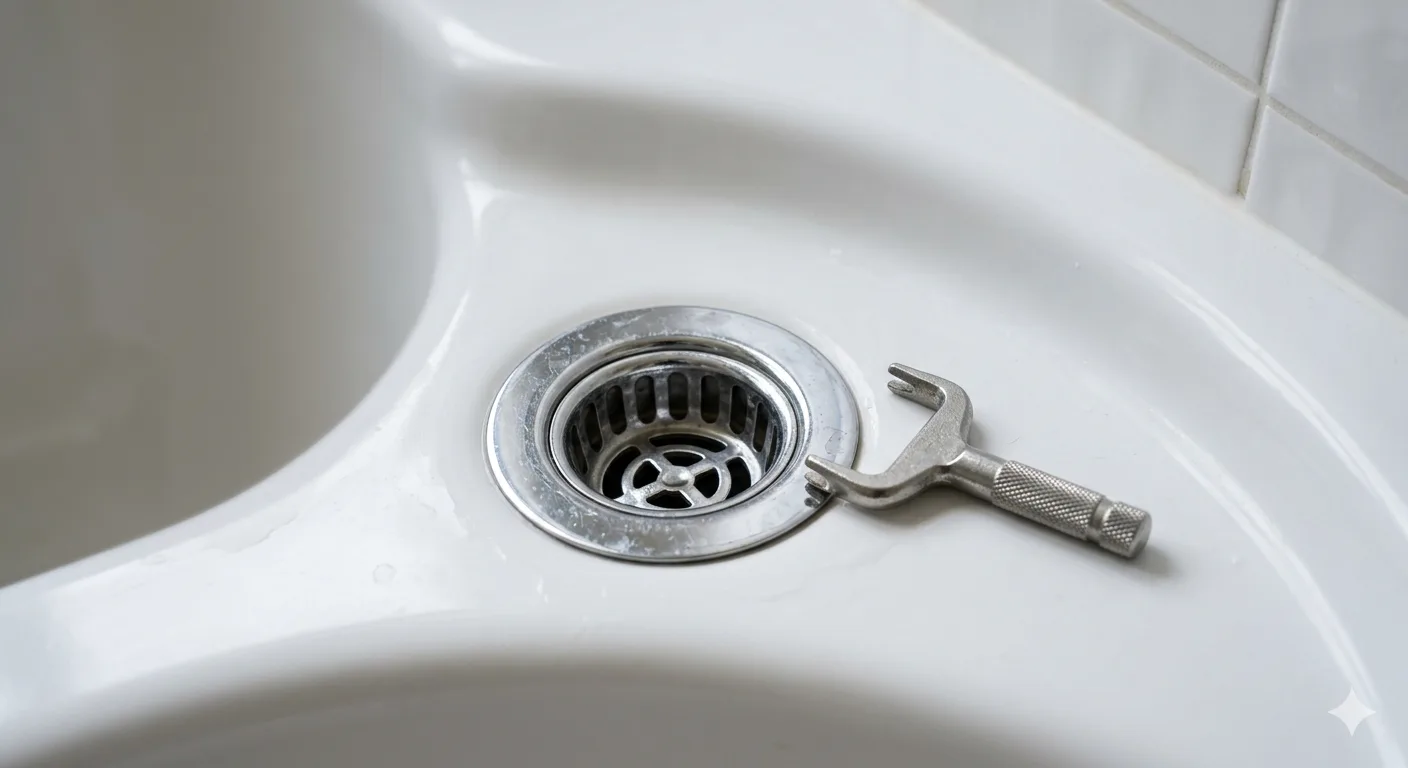
Step 2: Remove the existing toilet seat cleanly.
Toilet seat bolts are plastic wing nuts under the rear of the bowl. Unscrew them and lift the seat off. Clean the mounting surface thoroughly before fitting the new seat or attachment. Any mineral buildup or old rubber between the mounting plate and the porcelain creates a rocking fit that loosens over time and stresses the water connection.
Step 3: Install the T-valve at the toilet's supply connection.
The T-valve taps into your toilet's existing cold water supply to feed the bidet. It threads onto the shut-off valve outlet, with the toilet supply hose reconnecting to the other port. Hand-tight plus a quarter turn is the correct torque. More than that cracks the fitting. Less than that leaks. Use PTFE tape on all threaded connections. The EPA identifies toilet supply line connections as a leading source of residential water leaks, most from overtightened or under-sealed fittings.
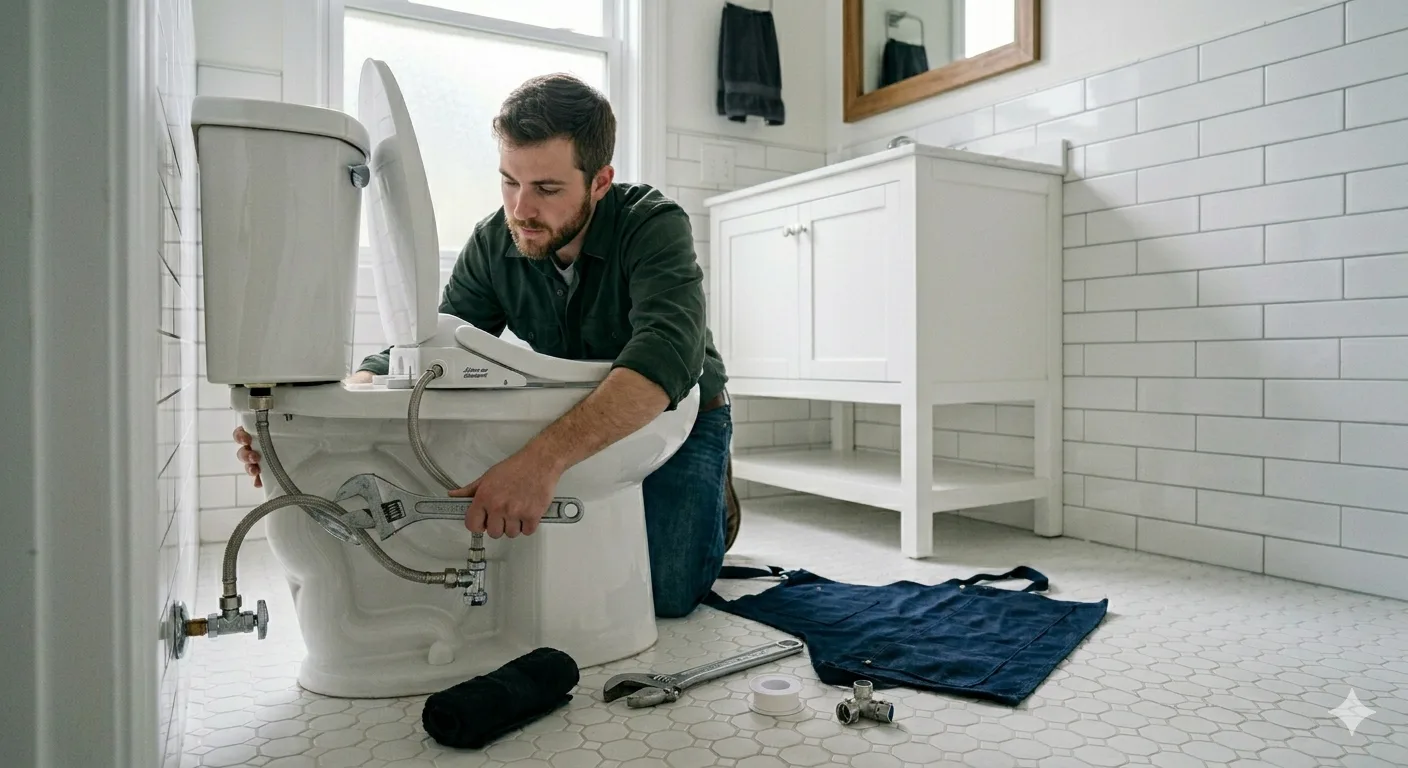
Step 4: Mount the bidet seat and connect the supply hose.
Slide the mounting plate onto the bowl, align the holes and tighten until firm. Slide the seat onto the plate until it clicks. Connect the supply hose from the T-valve to the seat inlet with PTFE tape, hand-tight plus a quarter turn. Do not use a wrench on the seat's inlet port. The plastic threads strip easily under tool pressure.
Step 5: Restore the water supply slowly and check every connection.
Turn the shut-off valve back on gradually. As the tank fills, watch every connection: the T-valve, the toilet supply hose and the bidet hose at both ends. Dry any residual water first so new moisture is immediately visible. Run the bidet through its spray cycles and check again under operating pressure. A connection that holds at rest can seep once flow starts.
When Knowing How to Install a Bidet Means Calling a Plumber
Knowing how to install a bidet with a heated seat means knowing one more thing: it needs a grounded GFCI outlet within reach. If your bathroom doesn't have one, a licensed electrician adds it before installation. The CDC notes that electrical faults near water are a leading cause of bathroom injuries. An extension cord is not a workaround.
Standalone bidet fixtures, bidet-toilet combo units that need new drain rough-ins, and any installation where the existing shut-off valve is corroded, stripped or not closing fully all require a licensed plumber. A shut-off valve that won't fully close means you can't safely work on any supply connection downstream of it, and replacing a toilet shut-off valve is a job that requires temporarily isolating that section of the supply line.
Frequently Asked Questions About How to Install a Bidet
How long does it take to install a bidet seat?
Most bidet seat installations take 30 to 60 minutes for a homeowner who has read the instructions and has the right tools. A wrench, PTFE tape and a bucket are all you need for a standard cold-water seat. Add another 30 minutes if the existing supply hose or shut-off valve needs replacing.
Do I need a plumber to install a bidet?
For a bidet attachment or seat connecting to an existing cold water supply, no. For a standalone bidet fixture, a bidet-toilet combo requiring new drain rough-in, or anything involving electrical connections for a heated seat, yes. If the shut-off valve behind your toilet doesn't close fully, a plumber needs to replace it before any connection work starts.
What water pressure is safe for a bidet?
Most bidet seats and attachments are rated for inlet pressure between 20 and 80 PSI. If your home's water pressure runs above 80 PSI, a pressure reducing valve protects the bidet's internal components and extends its service life. A licensed plumber can check your supply pressure and install a reducer if needed.
What is the most common mistake when installing a bidet?
Overtightening the T-valve or supply hose fittings. Plastic threads crack under excessive torque and the resulting leak is slow enough that it goes unnoticed until it has caused water damage under the flooring or inside the wall cavity. Hand-tight plus a quarter turn, with PTFE tape on every threaded connection, is the correct approach every time.
Find a Trusted Local Plumber for Bidet Installation Today
A bidet seat is a realistic weekend project for most homeowners. A standalone fixture, a heated unit needing new electrical, or a bathroom where the shut-off valve hasn't moved in a decade is a different conversation. Knowing where the line is before you start saves you from a repair bill that costs more than the bidet itself.
Visit PlumberLocator.us to find a licensed local plumber who can handle the parts of this job that go beyond DIY. For more practical plumbing guidance, browse our plumbing tips section.