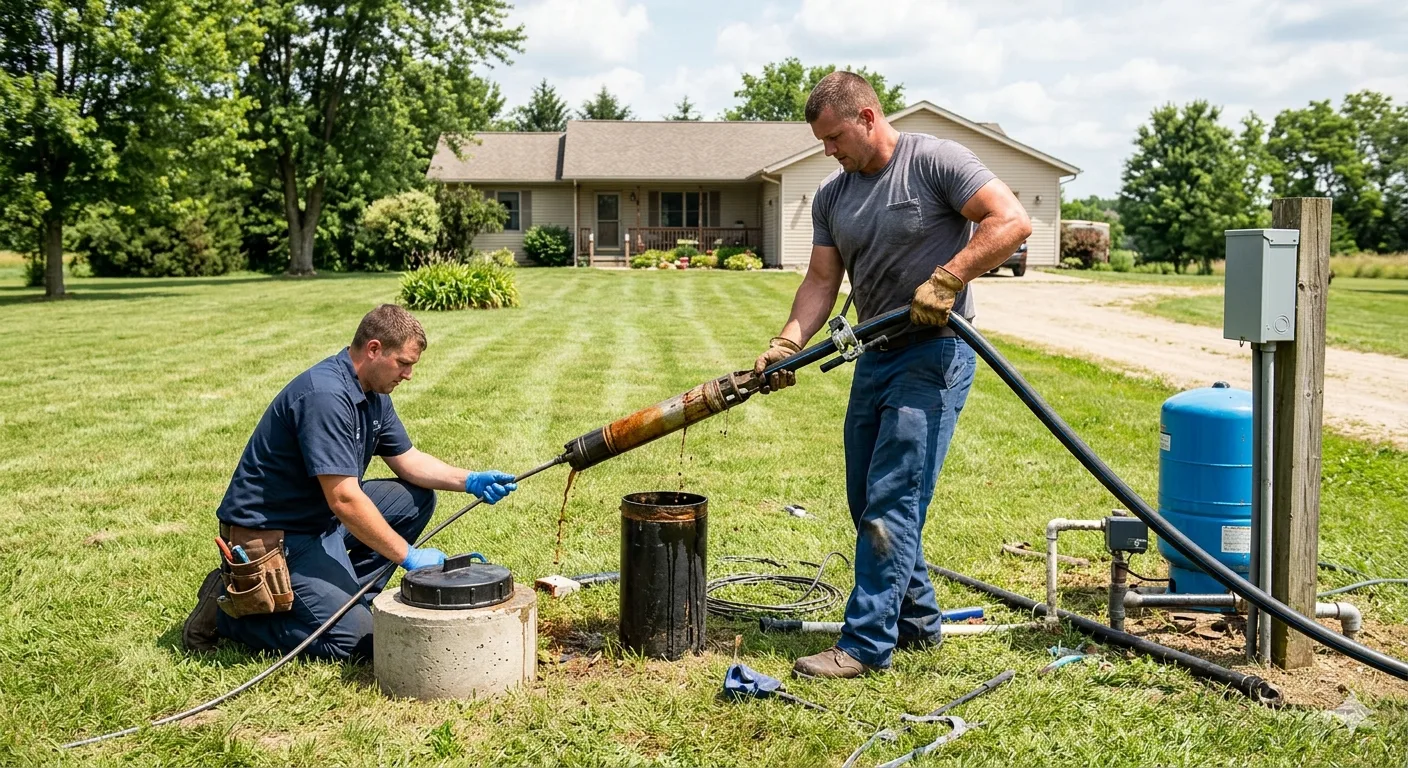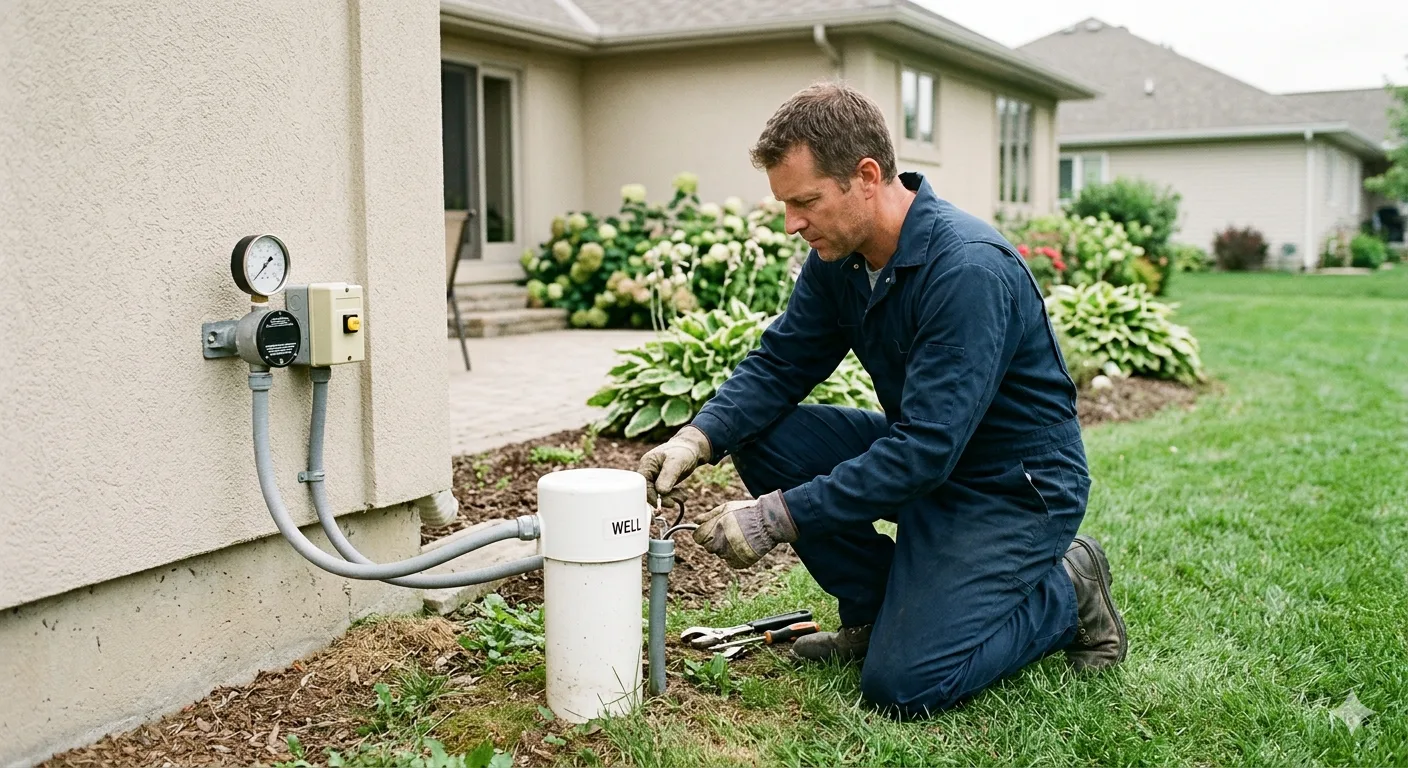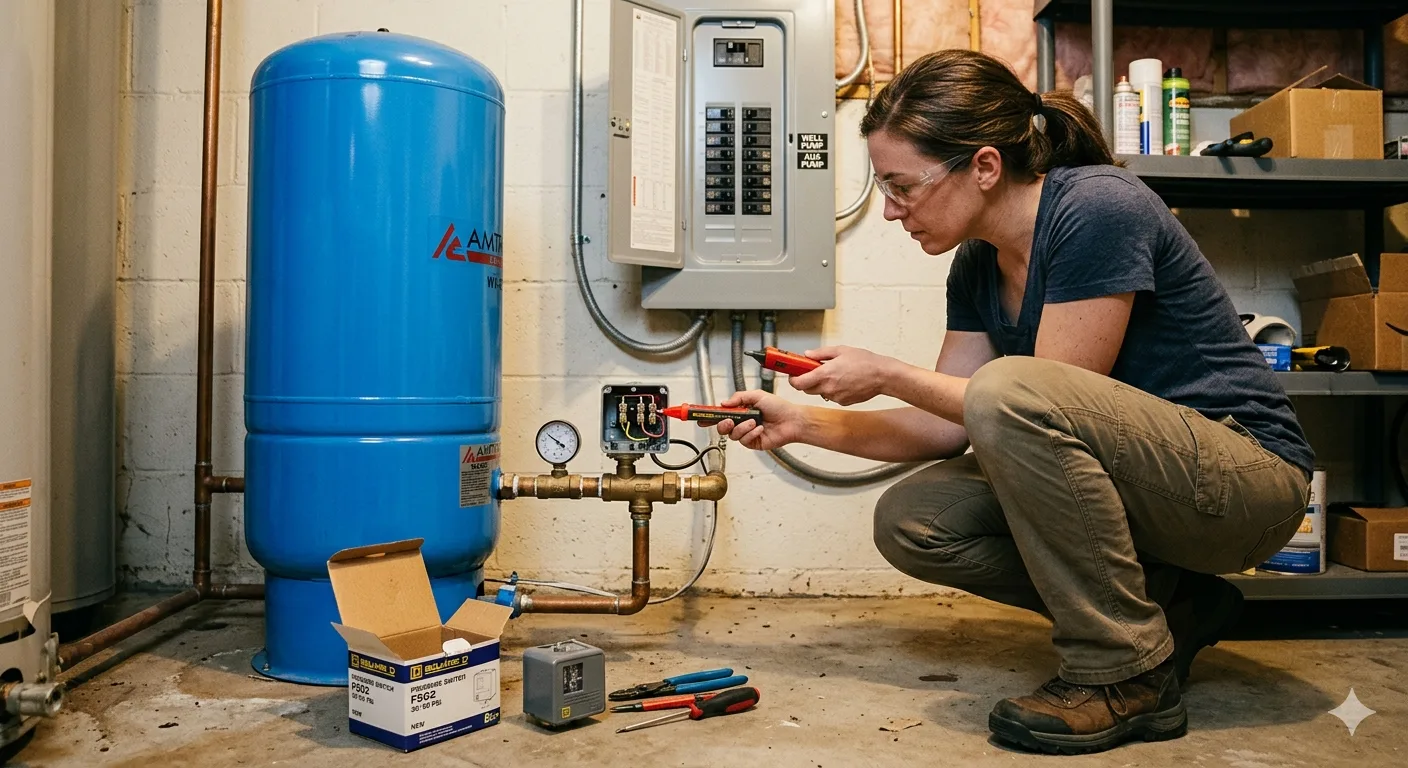
The pressure switch on a private well system tells the pump when to turn on and off. When it fails, the pump either runs continuously and burns out, or never starts. Knowing how to change pressure switch on well systems correctly is a manageable skill for homeowners on private wells with basic tools and careful attention to electrical safety.
Quick Answer: To change the pressure switch on a well, shut off the electrical power to the pump circuit at the breaker, release the system pressure at an outside tap, disconnect the wires from the old switch noting their positions, unscrew the switch from the pipe fitting, install the new switch with thread sealant, reconnect the wires to the matching terminals and restore power. A licensed plumber handles this job when the wiring is unfamiliar or when the pressure system needs a simultaneous inspection.
How to Change Pressure Switch on Well: What Fails and Why
A well pressure switch is threaded into the pressure line between the pump and the pressure tank. When pressure drops to the cut-in setting, the contacts close and the pump starts. When it reaches cut-out, they open and the pump stops.
The diaphragm hardens from age and scale. The contacts pit from repeated arcing under load. A switch that lets the pump run continuously has contacts that won't open. One that won't start the pump has contacts that won't close or a seized diaphragm. The PHCC notes pressure switch replacement is one of the most common well system service repairs in residential properties.
6 Critical Steps to Change Pressure Switch on Well Systems
Step 1: Confirm the pressure switch is the actual problem.
Before buying a replacement, confirm the switch is the cause. Press the centre button manually. If the pump starts immediately, the switch is not opening at cut-out pressure. If the pump does nothing, the problem is upstream. The EPA notes waterlogged pressure tanks cause symptoms identical to switch failure because the pressure cycle happens too fast for the contacts to respond.
Step 2: Shut off power at the breaker and verify it is off.
The pump circuit operates at 240 volts and carries enough current to cause a fatal shock. Do not proceed beyond this step until you have located the correct breaker, switched it to the off position and confirmed the power is off with a non-contact voltage tester at the pressure switch terminals. Turning off the switch on the pressure switch housing itself is not sufficient. The power must be off at the breaker. A non-contact voltage tester is available at any hardware store for $15 to $25 and is essential for this step.
Step 3: Release system pressure before disconnecting anything.
Open an outside hose bib or a tap inside the home and allow pressure to drop to zero before touching the switch fitting. A pressure switch threaded into a pressurised line will release water forcefully when unthreaded. The line pressure in a typical well system runs between 40 and 60 PSI, which is enough to spray water across the utility space with considerable force. Wait until the tap runs dry and close it before proceeding.
Step 4: Photograph the wiring before disconnecting any wires.
The pressure switch has multiple terminals and the wiring configuration varies by switch model and installation. Photograph the existing wiring from multiple angles before removing any wire. Note which wires connect to which terminals. Line voltage wires from the breaker and wires to the pump motor must reconnect to the correct terminals on the new switch. The CDC notes that incorrect wiring during component replacement is a leading cause of residential electrical fires.
Step 5: Remove the old switch and install the new one.
Disconnect all wires from the old switch terminals. Unscrew the switch counter-clockwise from the pipe fitting. Apply PTFE thread tape or pipe thread sealant to the threads of the new switch before installation. Thread the new switch onto the fitting hand-tight first, then tighten with a wrench. The switch should be oriented so that the wiring access hole faces a direction that allows the cover to close once wiring is complete. Do not over-tighten the fitting as the plastic housing on many switches can crack under excess torque.
Step 6: Reconnect wiring, restore power and test.
Reconnect all wires to the matching terminals on the new switch using your photographs as the reference. Ensure all terminal screws are tight and no bare wire is exposed outside the terminal connection. Close the switch cover, restore power at the breaker and open a tap inside the home. The pump should start within seconds as pressure drops below the cut-in setting. Monitor the pressure gauge. The pump should stop when pressure reaches the cut-out setting. If the pump short-cycles, meaning it starts and stops every few seconds, the pressure tank needs attention and the job is not yet complete.
When to Call a Plumber to Change Pressure Switch on Well
If the existing wiring does not match any standard configuration, is corroded or has damaged insulation, or if the pump still won't start after a correctly installed switch, call a licensed plumber. Well system electrical work operates at 240 volts with no GFCI protection. Professional switch replacement costs $150 to $300, far less than repairing a pump damaged by incorrect wiring.
Frequently Asked Questions: Change Pressure Switch on Well
What pressure setting should I use on the new switch?
Residential well systems most commonly use a 30/50 PSI switch. Some use 40/60 PSI for higher demand. Match the new switch to the setting printed on the old switch label. Do not adjust pressure settings unless a licensed plumber has confirmed the tank pre-charge is correct.
How do I know if my pressure tank needs replacement too?
After changing the switch, if the pump short-cycles immediately on startup, the pressure tank bladder has failed. Tap the tank from bottom to top. A healthy tank sounds hollow on the top half. A waterlogged tank sounds solid throughout. A licensed plumber can confirm bladder condition and replace the tank in the same visit if needed.
Can I change the pressure switch without shutting off the pump breaker?
No. This is a 240-volt circuit. Attempting to work on the switch with power on risks electrocution. The breaker must be off and confirmed off with a voltage tester before any wires are touched.
What size switch do I need to change pressure switch on well systems?
Most residential well systems use a 1/4-inch pipe thread mount switch rated for single-phase 240-volt service. Match the pipe thread size and voltage rating of the old switch. The pressure setting is separate from sizing and is selected independently.
Find a Trusted Local Plumber for Well Pressure Switch Service
Knowing how to change pressure switch on well systems makes it manageable. The right steps are the difference between a successful repair and a pump fault. When the wiring is unfamiliar or the job reveals other system problems, a licensed plumber finishes it safely and right.
Visit https://plumberlocator.us/emergency/ to find a licensed local plumber near you experienced with well system service, including to change pressure switch on well systems safely. For cost estimates on pressure switch and tank work, browse our https://plumberlocator.us/cost-guide/.